The blog post below contains answers to the most frequently asked questions about installing shutters. If you want to jump straight in and install your shutters, download one of our digital guides.
Like any DIY project, installing shutters can sound intimidating if you’ve never done it before. We often get asked if it is
really that easy to do without prior experience. We can always say
“yes” with confidence because our process is simple, and our clear instructions lay it out step by step to make it a breeze. Here we break down some of the most common installation questions for
DIY shutters.
 It’s easier than you may think to design and install your dream shutters.
Do I have to assemble the shutters?
To prevent damage in transit, your shutter will ship securely packaged with the panels in a separate box from the frames. Our frames are mitered and cut to fit together by inserting a bowtie-shaped fixing called a Hoffman key. This just helps keep the frame sides together and lined up properly until they get mounted to your window opening.
 Gently tap the bowtie in place to assemble your frame.
The shutter frame and the shutter panels will already have the hinges installed. All you will need to do once your frame is mounted, is line up the hinges, and join them together using the hinge pins provided in your hardware kit.
In some cases, if your shutter is just one single panel, it will already come fully assembled in the frame. In this case, you would just remove the hinge pins to separate the panel from the frame (to make it easier to position and mount your frame) then reattach the panel using the hinge pins.
 Line up the matching hinge sides and join with a hinge pin.
How do I know which parts are which?
Your boxes will be labeled with a few identifiers: the room name you provided when you placed the order, and the item number corresponding to your final invoice. You will usually have 2 boxes per shutter, one with the panels and one with the frame.
Your frame sides are labeled with a sticker or marking to indicate top, bottom, left, and right sides. These indications are based on you looking at the front face of the shutter. (So, if you are assembling the shutter face down, be sure to lay out the frame sides in the reverse direction of their labels).
Your panels will also be labeled or stamped to indicate their position from left to right, with either a number or letter system (i.e. 1, 2, 3, 4 or A, B, C, D and so on).
You can also be sure that your panels are positioned correctly because our shutters are designed for the slats to close upward, for maximum light blockage and privacy.
If there is more than one panel in your shutter, the right side will always have a lip to conceal any gap between the panels, and the right side will close over the left.
 Your shutters will be clearly labeled using the names you provide when you order.
What tools will I need, and what hardware is included?
You will need a drill, a spirit level, and a hammer or rubber mallet. Everything else you need will be provided in your hardware kit.
Each hardware kit will have a small paper slip directing you to our eco-friendly digital guides for
installing shutters. There is a PDF guide unique to each style of shutter, separated by inside mount or outside mount.
Your hardware kit will include:
- Hoffman keys
- The bowtie shaped pieces that connect your frame corners together
- Screws
- Longer screws for mounting your frame
- Smaller screws for securing your hinges once all final adjustments are made
- Hinge pins
- Long pins used to connect adjoining hinge sides
- Hinge shims
- Flat plastic spacers to help with aligning panels if needed
- Not required for installation, but helpful to keep on hand
- Touch up paint
- This is the small bottle that may look like glue or nail polish. This has a little touch up paint to match your shutters, again just helpful to have on hand
- Frame caps
- Use these to cover the holes where you have drilled into your frame
- Note, some holes on your panels are intentionally left uncovered. These contain the tension screw that allows you to adjust the tension of the slat movement.
We also have
video guides demonstrating and walking you through each step, including common troubleshooting and shutter maintenance.
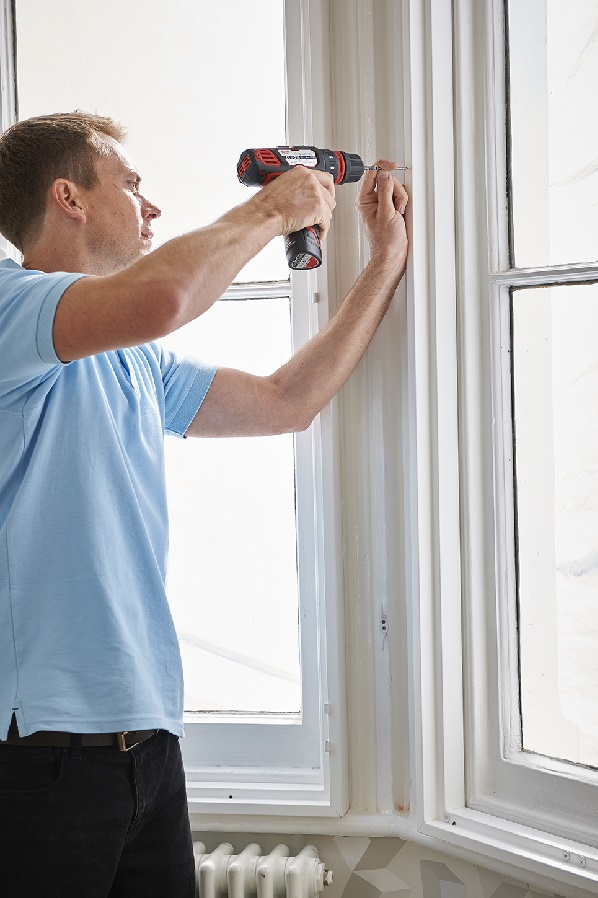 No prior experience necessary -just a drill, a level, and a can-do attitude!
My window is not square or level – what do I do?
When measuring or installing, you may find that your window is not 100% level throughout. Not to panic! This is very common, and easy to work around when fitting shutters.
Depending on the type of mount and shutter frame you’ve chosen, like an outside mount, or a Z Frame, the shutter itself may just hide all those imperfections.
Use a spirit level as you install to check that the shutter frame itself stays level, and your panels will line up perfectly.
It is a good idea to start with loosely screwing in one or two frame screws, keep checking for levelness as you go before tightening all frame screws.
If you find you need help keeping the frame level, you can pick up snap shims from any local hardware store. This handy dandy helper is graduated in thickness to fit any size gap.
 Checking that the frame is level will prevent any issues with the shutter panels closing properly.
 Optional: Pick up snap shims at any local hardware store to hold the frame in a level position while installing.
Your hinges also can be adjusted slightly up or down before locking the final hinge screw in place.
For inside mount shutters with an L Frame, you may see a gap if your window size varies from top to bottom or from side to side. Usually just a bit of caulking around the outside edge of the shutter frame is all you need to create a seamless finish.
 Caulking takes a few seconds extra and creates a seamless professional finish.
For greater variances, you may use shims to fill any gaps. Again, your local hardware store can provide wood filler strips cut to any size you need. You can use your touch up paint, so these shims match your shutters perfectly, and that’s it!
If you find that the shutter frame is too tight at some spots, use sandpaper to gently sand the area down (inside the window opening, or this can be done on the shutter frame itself if you have a wooden shutter).
That was easy! Now what?
Sit back and enjoy your beautiful new shutters and pat yourself on the back! You did it!
Send your completed install pictures to
[email protected] to be entered into a prize drawing for a chance to win a $100 gift card.
Tell your neighbors and friends, and check out our
Instagram or
Facebook page to see if your installation will be featured!
/installing-shutters-made-simple/024_sf_at_home_243.jpg?width=600&height=900) Send in your before and after pictures for a chance to win $100 gift card!
As with every step of your shutter journey, our shutter experts are here to help if you get stuck anywhere along the way. Give us a call during your install or send us pictures if you need help determining the next step. If you are still hesitant, check out our Trustpilot reviews featuring real customer testimonials. You got this!
Send in your before and after pictures for a chance to win $100 gift card!
As with every step of your shutter journey, our shutter experts are here to help if you get stuck anywhere along the way. Give us a call during your install or send us pictures if you need help determining the next step. If you are still hesitant, check out our Trustpilot reviews featuring real customer testimonials. You got this!
Meeting your deadline and your expectations is as important to us as it is to you! Contact us with your project details and we will help you find the best option for your project.

This post was brought to you by Yasmeen, one of The Shutter Store USA's experienced shutter consultants. Contact our team today for advice on your shutters. We're here to help!