
How to Install Shutters on Inside Mount Windows
Your shutters have arrived; now it’s time to fit them. Follow the steps below; take it one step at a time, and you’ll have them installed before you know it.
What you’ll receive:
Your shutters will arrive in a few parts:
Shutter panels - boxed and labeled
Frame pieces - boxed separately
A hardware pack with all required fixings - inside the frame box
Before you start
Make sure you have everything ready before you begin. You’ll need a few basic tools:
Rubber mallet or small hammer
Phillips head screwdriver
Drill
Spirit level
Suitable fixings for your wall type
Packing material: Shims or wedges (or cardboard)
Decorator’s caulk
Step 1: Assemble your shutter frame
We recommend assembling your frame on a soft surface, such as the cardboard packaging, to protect the paint finish while you work.
Prepare the frame pieces
Lay the frame pieces face down on a flat surface.
Each piece is marked to show its position. Check these before you start.
Connect the frame
Your frame will connect in one of two ways, depending on the range.
Adding T-posts or T-bars (if included)
If your order includes a T-post or T-bar, fit it into the frame using the pre-drilled holes. T-posts are labelled to guide placement.
T-post labels: T1 = first T-post and T2 = second T-post (working from left to right)
Frame Connections
Most ranges will follow Hoffman Key System


Step 2: Position and loosely fix the frame
Lift the assembled frame into the window opening and position it where you measured.
Start with just 1–2 screws. One at the top and one at the bottom, or one on each side.
Do not fully tighten yet.
This gives you room to adjust the frame before committing to its final position.
Tip: A little wiggle room at this stage makes leveling much easier and gives you much better results.
Step 3: Level and adjust the frame
Most window openings are not perfectly square, so this step is where installation really comes together.
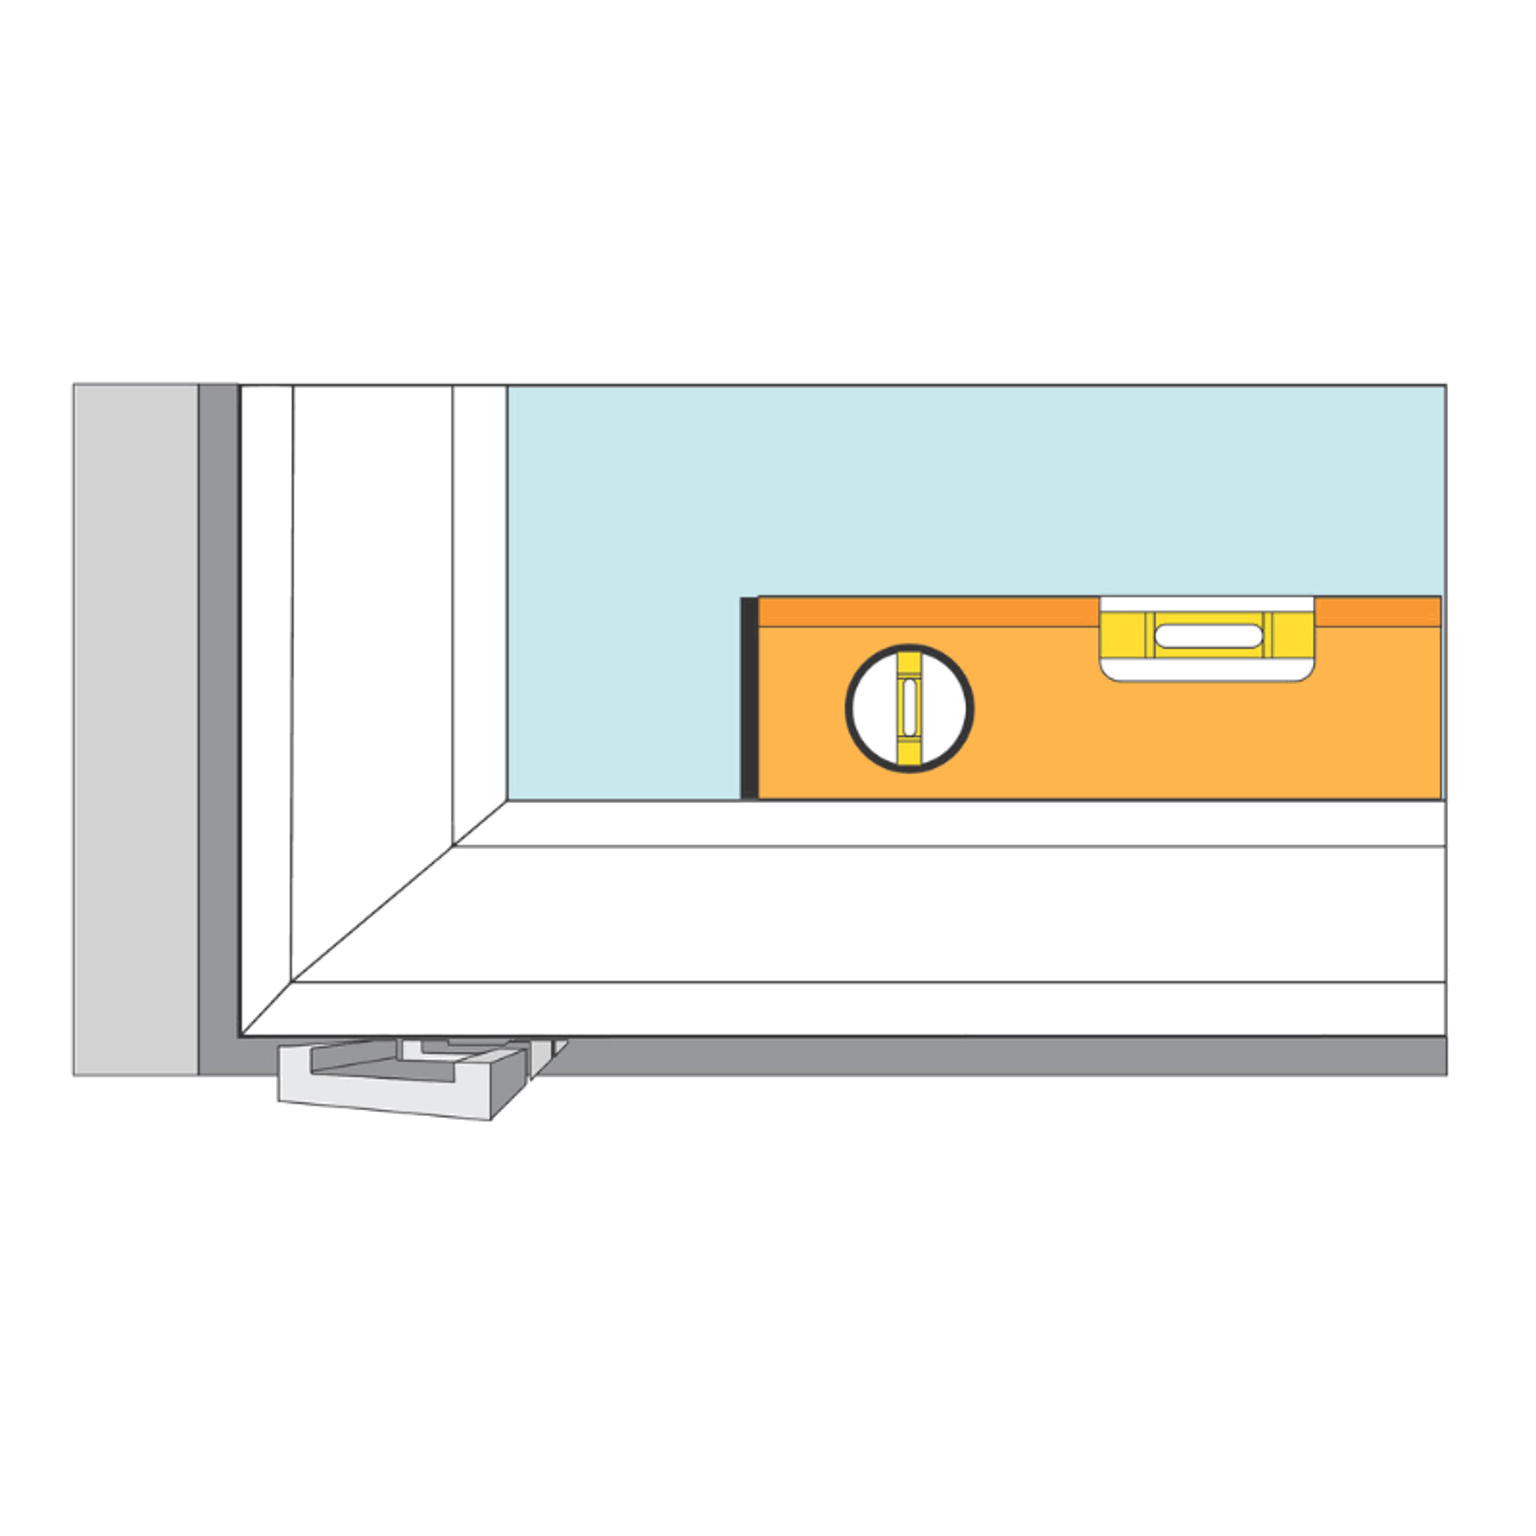
Use a level to check the frame both horizontally and vertically
Add shims or cardboard spacers behind the frame where needed
Adjust until the frame is straight and level on all sides
Tip: Take your time here; a level frame is what ensures your panels open, close, and sit correctly.
Once level:
Any small gaps behind the frame can be packed with cardboard.
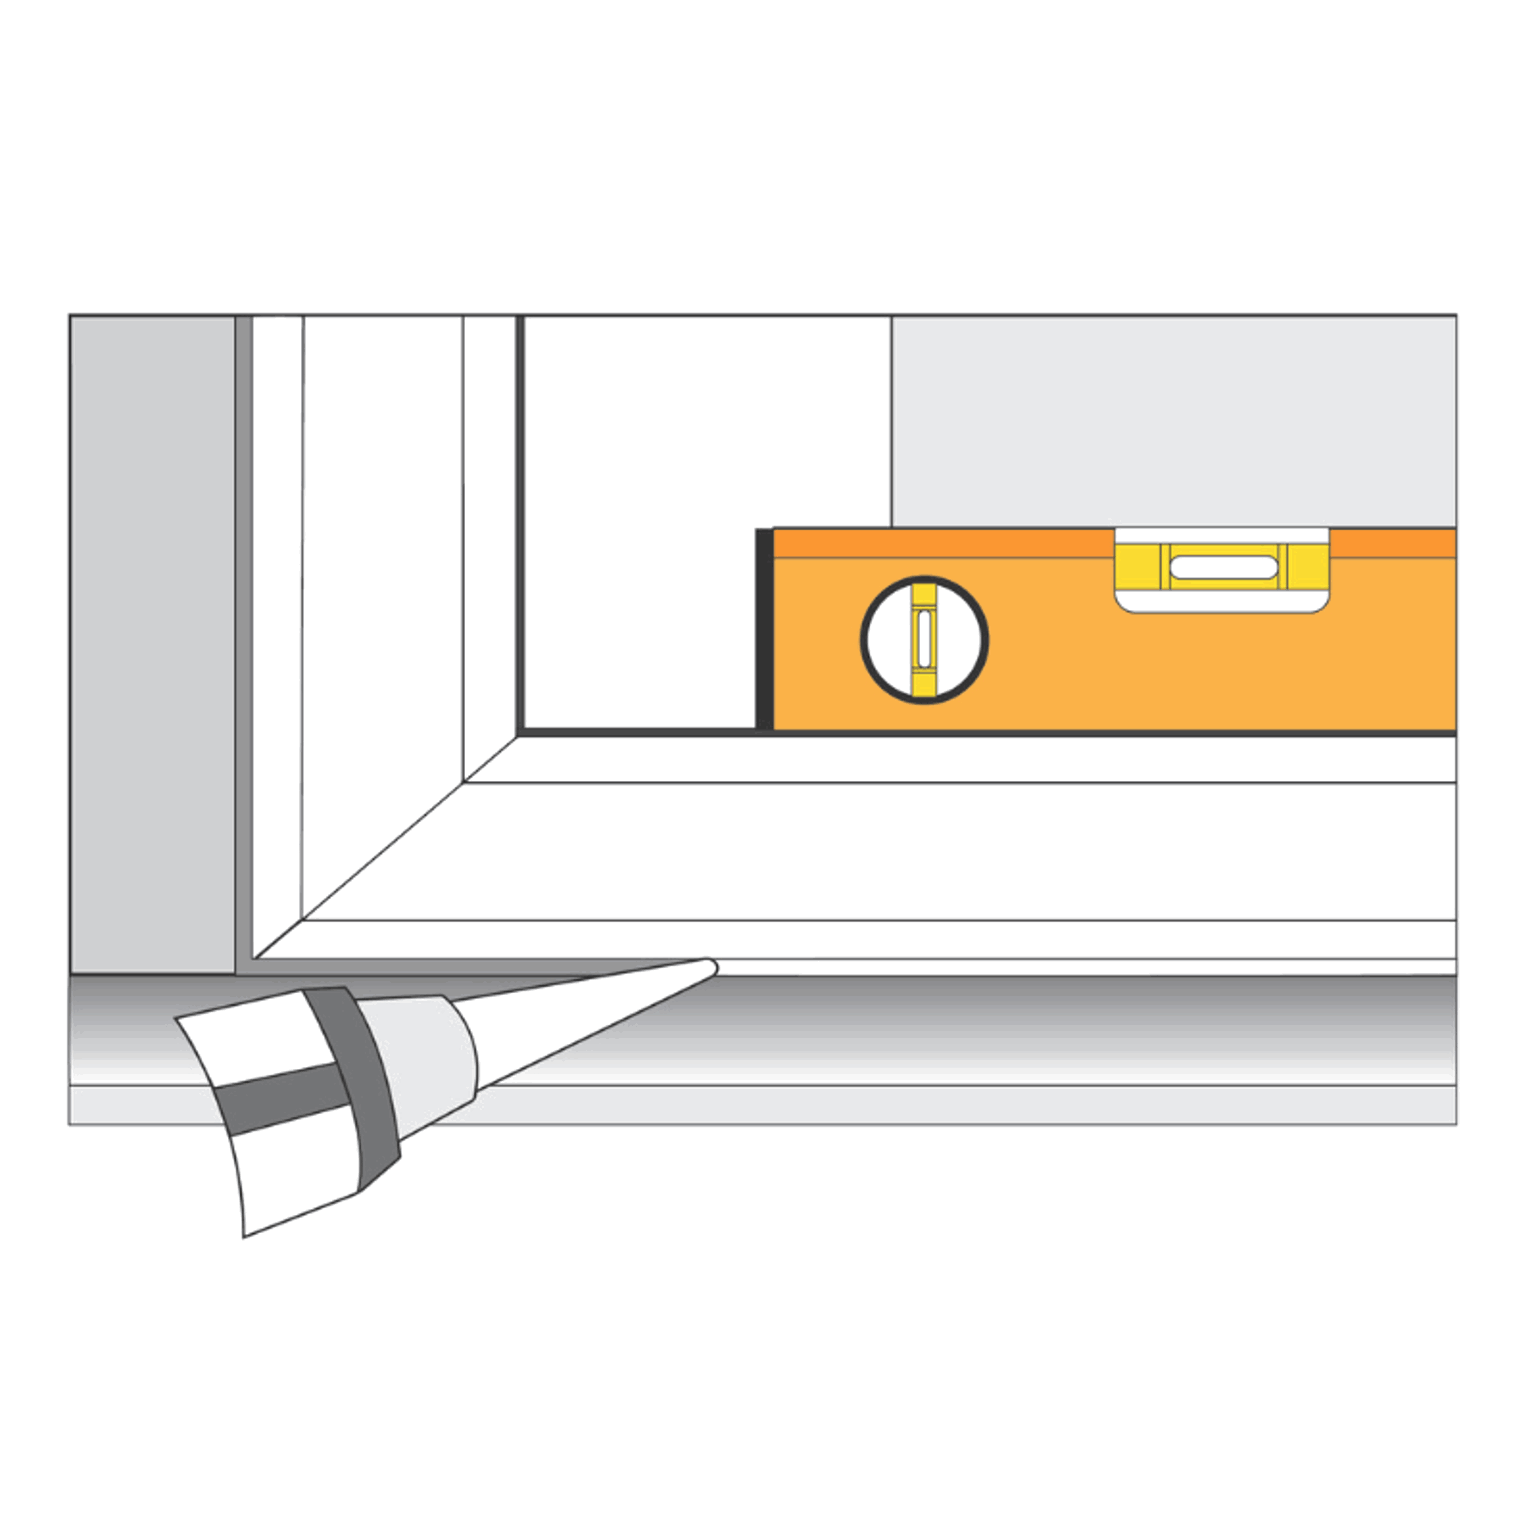
Gaps at the edges can be filled with painter’s caulk after installation.
Note: If you’re drilling into brick or concrete, use a masonry drill bit and appropriate wall anchors. Your local hardware store can advise on the right type for your wall.
Step 4: Hang your panels
Once all frames are aligned and joined, hang the panels section by section.
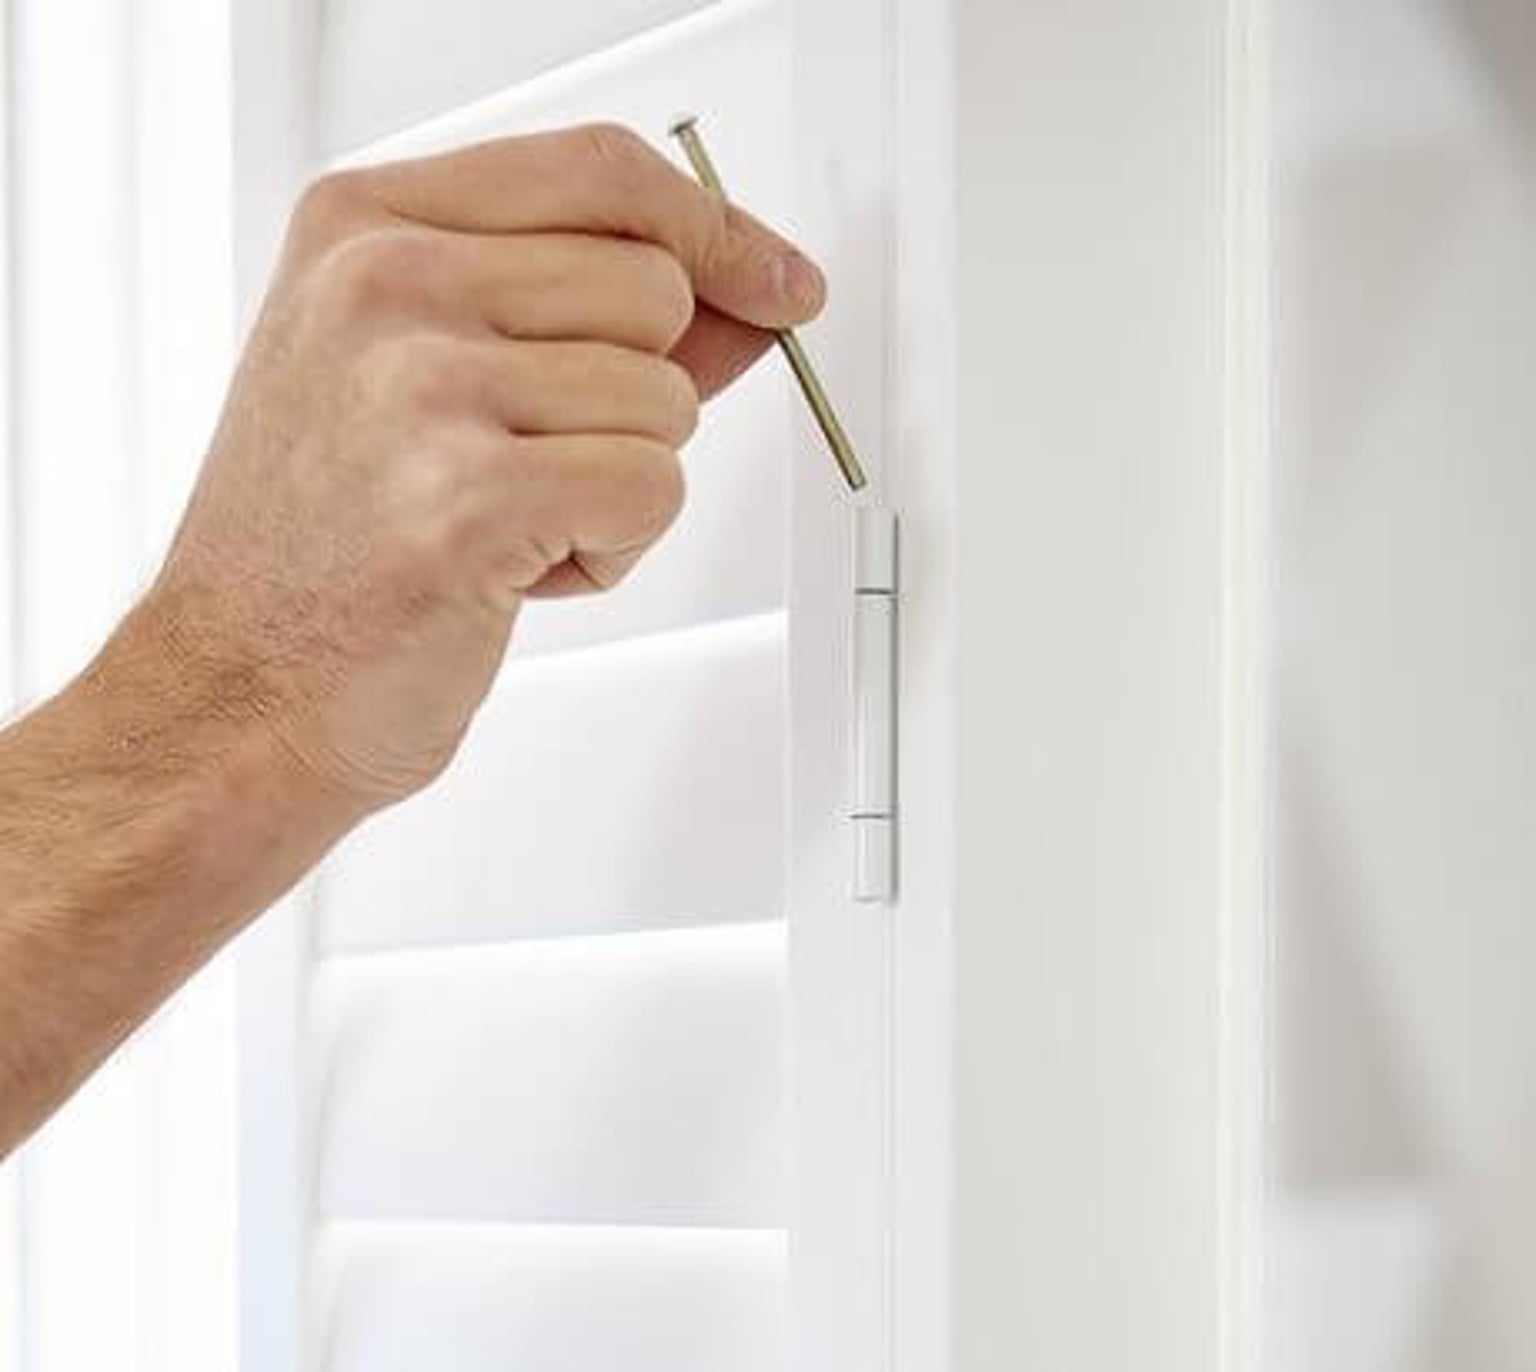
Line up the hinges on the panels to the frame.
Insert the hinge pins to connect them.
Repeat for every panel.
Check panel order before hanging
Panels are labeled 01, 02, 03, and so on. Work from left to right. For Tier on Tier shutters, hang the top section first, then the bottom.
Important: Make sure every panel is in the correct position before inserting the locking screws into the hinge
A few things to know about your panels
Louvers always close upward
Center Tilt Rod: The mouse hole in the top rail is where the tilt rod inserts.
Hidden or Clearview Tilt Rod: A recessed area in the top rail allows the louvers to close neatly and sit flush.
Step 5: Adjust and secure the panels
Open and close each panel to check it moves freely and sits correctly when closed. If any panel needs adjusting:
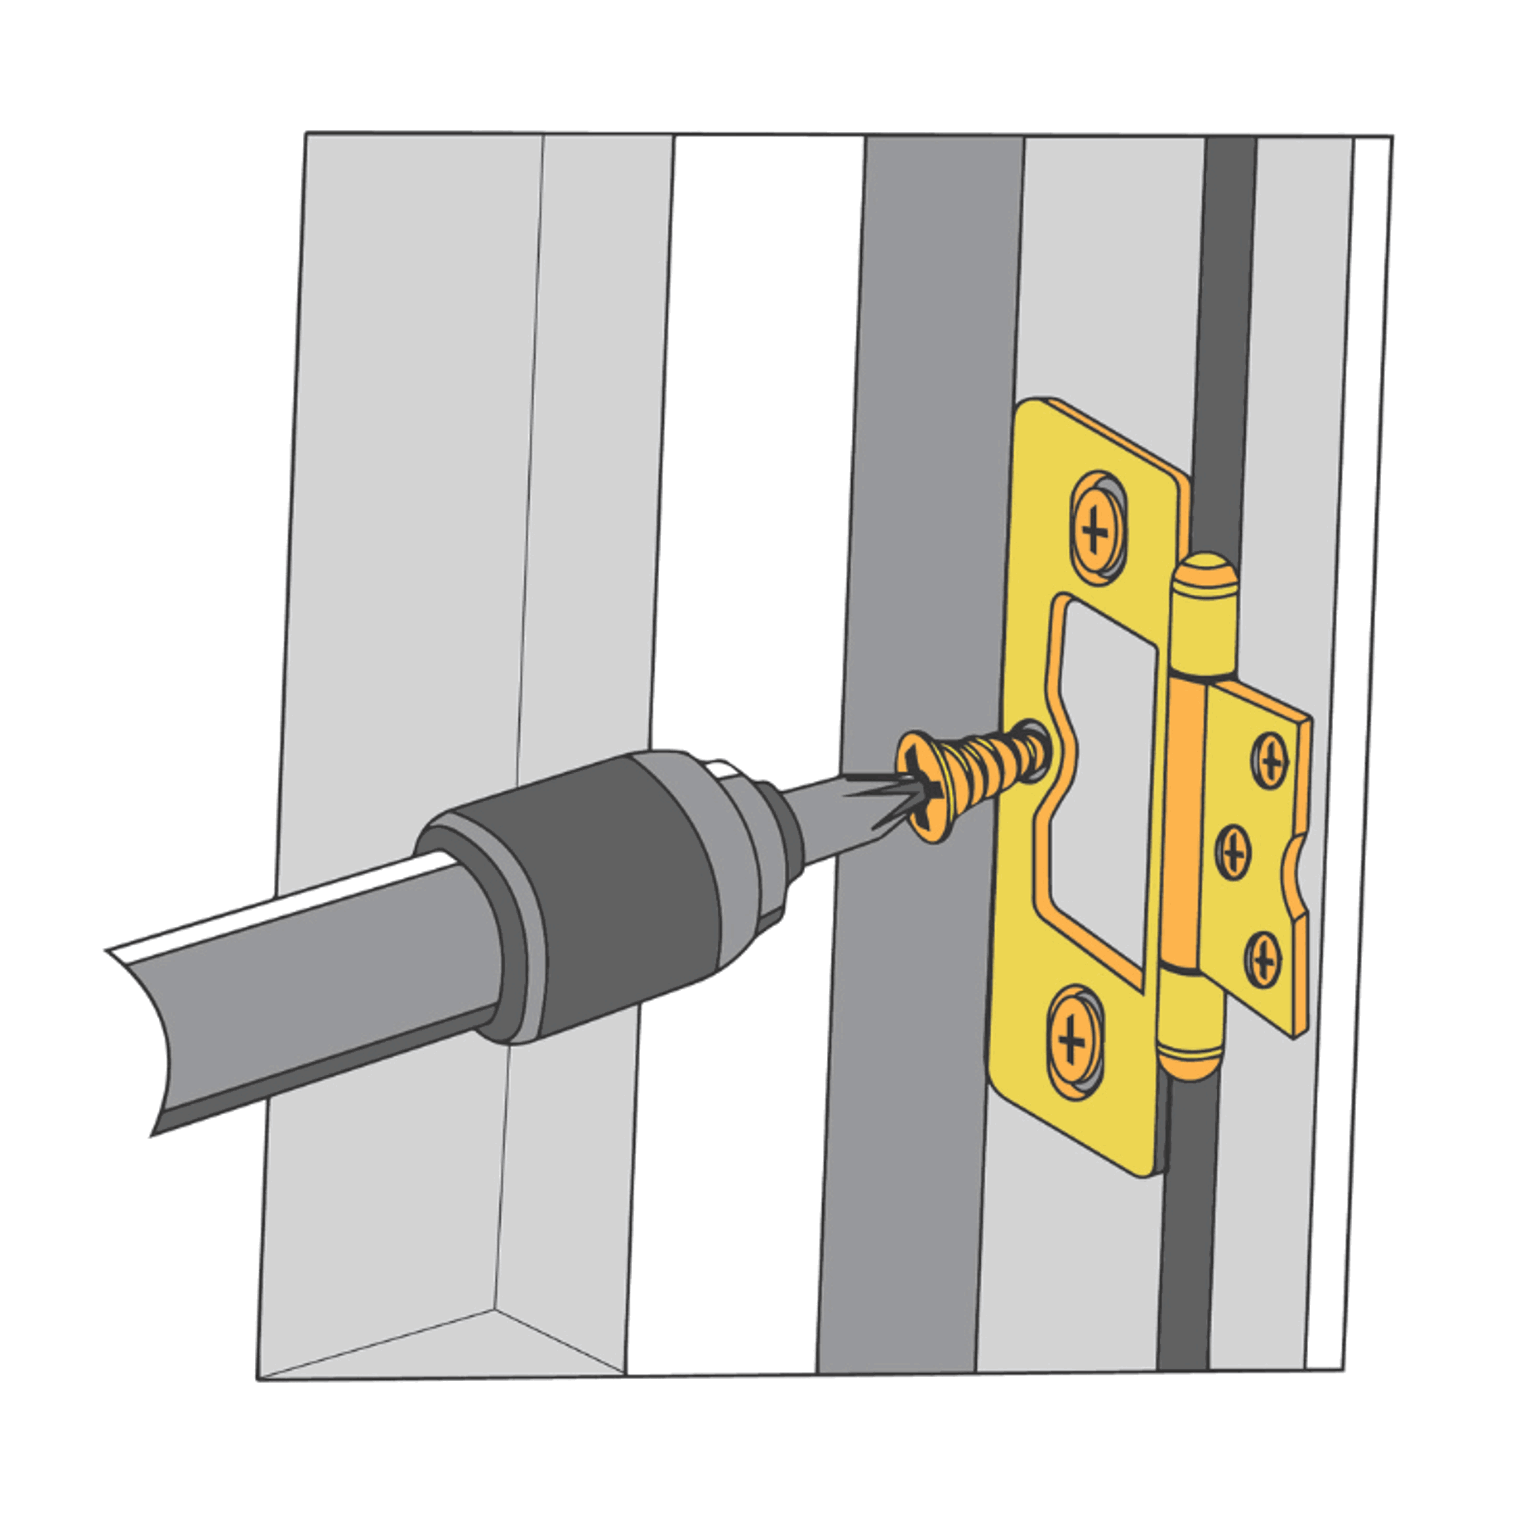
Loosen the top and bottom hinge screws on the frame side of the hinge — do not remove them
Slide the hinge up or down to raise or lower the panel
Re-check alignment, then tighten the top and bottom screws
Important: Don’t insert the middle locking screw on any hinge until you’re completely happy with how all panels hang and close.
Once everything is aligned, insert the final locking screw on each hinge to secure the panels in place.
Step 6: Secure the frame
Once everything is aligned and operating correctly:
Fully tighten all the frame screws.
Check that the frame is secure on all sides.
Step 7: Finishing touches
Fit screw caps or adhesive coverings, if included, to conceal fixings
Run a bead of caulk along any gaps between the frame and wall, smooth with a damp finger, and leave to dry
If your louvers feel loose, tighten the tension screws a quarter turn on each side. Watch the louver adjustment video for extra guidance
Wipe down with a soft dry cloth
Note: Some products may not include caps or adhesive coverings for pre-drilled holes.
That’s it; your shutters are installed.
Need help during installation? Send us a photo by email or live chat and we’ll guide you through it. For more help, visit our Shutter Installation FAQs.